



3D manicure is a decorative art that goes beyond applying ordinary nail polish and adds depth and a textural dimension to the nails. This technique breaks the monotony of a flat surface, giving your fingertips a vibrant and vibrant look. So, what materials are needed to achieve this three-dimensional effect and can this design be implemented at home?
Зміст
The Science and Materials Behind the Technique
This type of manicure aims to create a physical elevation on the nail. If you think that ordinary gel just forms a colored layer, this technique adds a structural skeleton to it. Usually acrylic powder, special gels or UV-cured resins are used. Some designers prefer latex-based gels for finer details, while acrylic monomers are more often preferred for thicker sculptural forms.
Fine-tipped brushes are essential for shaping the nails. A flat-tipped brush covers large areas, while fine-tipped ones define the edges of flower petals, beads or geometric shapes. These details are the most important factor that prevents the appearance from looking “cheap”.
Why is 3D Manicure Preferred?
No matter how popular minimalism is in current fashion trends, “sculptural” details on nails are always eye-catching. The main reason behind these choices is freedom of personal expression.
“3D manicure allows you to use your nails like an accessory. It’s not just a color, it’s a sculpture.
This technique creates a strong contrast against solid colored nails. Especially when white or metallic details are added to light color gels, the manicure looks luxurious and expensive. In addition, even if the nails are very short, thanks to this technique, the nail tips can be perceived as longer and more elegant.
Can I Try It at Home?
Yes, it is possible, but it requires patience. Getting it done at a professional salon always gives a cleaner result because they avoid airborne dust particles or improper curing errors. However, if you want to make it at home, you should pay attention to the following:
- Floor Preparation: The nail surface must be free of oil and moisture.
- Thickness Control: Too thick layers can damage the structure of the nail or break easily. In thin layers
Hand and nail care is no longer just a matter of cleaning. A form of expression for women. Applying traditional nail polish and drawing simple patterns are still popular. But the scene is different now. 3D manicure fashion is on the rise.
This technique prevents the nails from being a flat surface. It makes them sculptural. More lively. Brighter. More eye-catching. More creative compared to traditional methods. It breaks new ground in nail art.
How to Do 3D Manicure?
Questions are coming. “How to do it?” “Can I do it myself?” The answer is simple but requires you to be careful. Generally, a professional application is required. But it’s important to understand the basics.
The trick is in the layers.
– Preparation: Nails are cleaned and shaped.
– Base: A colored nail polish or a transparent base is applied.
– Abbreviations: Gel, acrylic or a special paste is used.
– Shaping: Reliefs are created with this material. Flowers, stars, even mini statues can be made.
– Locking: A protective layer is applied on it. Nails shine. It becomes durable.
What Materials Are Used?
Which products work? There are different options. Some may try it at home. For some, a living room is a must.
- Gel Polish (Gel): Dries under UV light. It is permanent.
- Acrylic Powder and Liquid: Classic method. Ideal for rigid structures.
- 3D Gel: Customized gel. It is more flexible for reliefs.
- Nail Art Kimonos: Small pieces that can be glued on. Easy to use.
- Silicone Molds: Allows you to easily create specific shapes.
Whichever method you choose, don’t ignore the health of your nails. There is a risk of wear. Correct inference is important.
Why Is It So Popular?
Why does it appeal to so many people? Not just because it’s beautiful. It makes a difference. In traditional manicures, nails remain flat. There is depth in 3D manicures. He’s playing with the light. It’s moving.
This trend is also spreading on social media. Visual show. It affects the audience. One of the most distinctive ways to reflect your personal style. It’s not just an accessory. an artistic
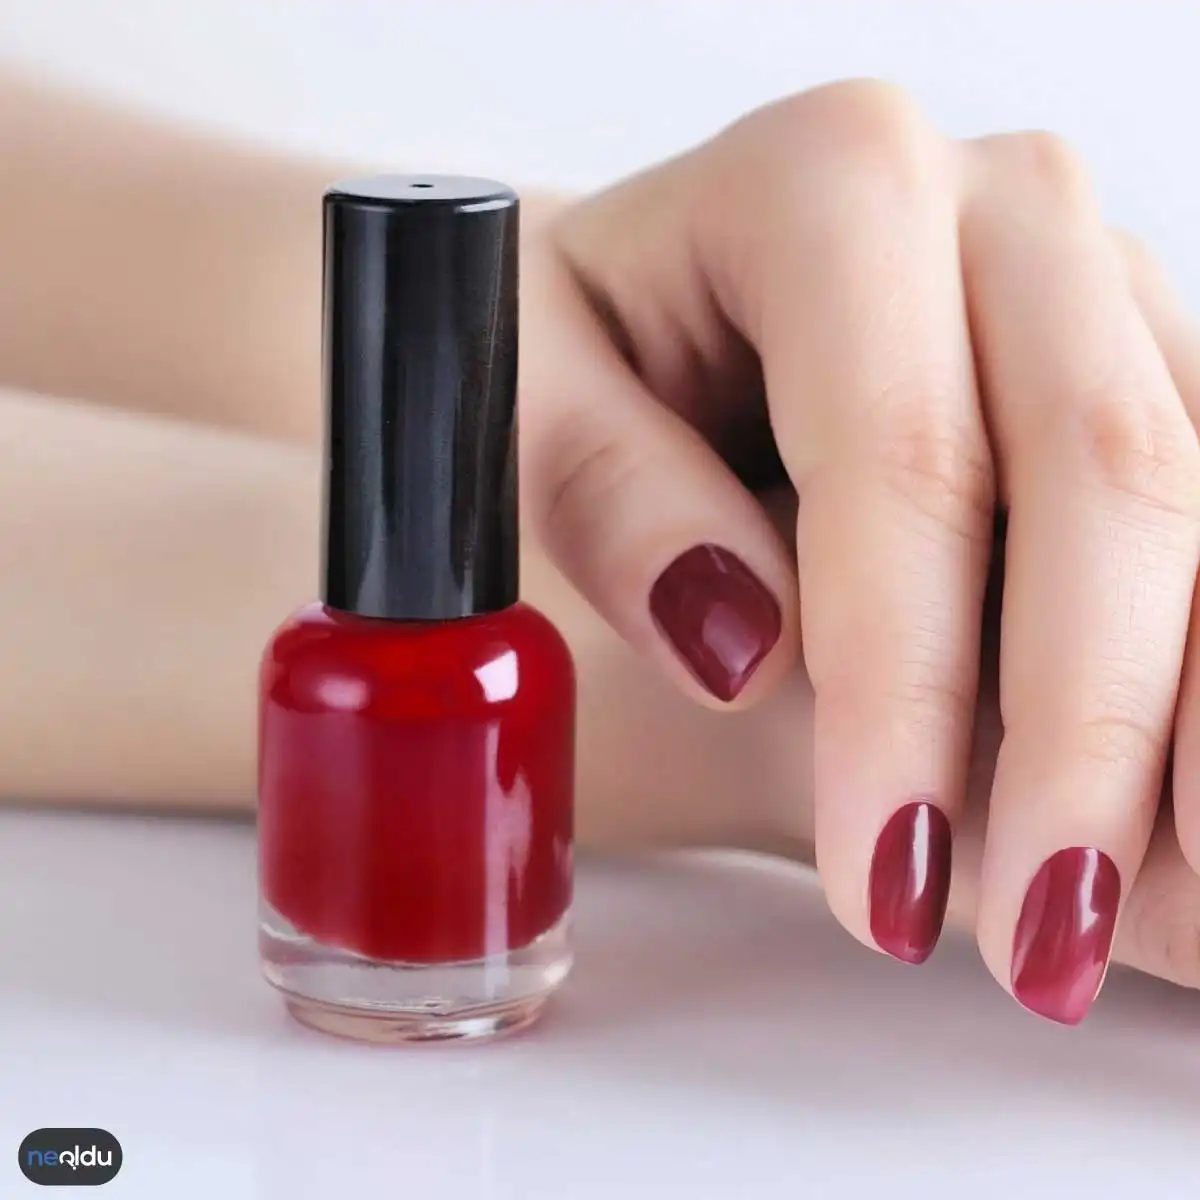
Surreal Designs on Nails: What is 3D Manicure?
We are in an age where nails are no longer ordinary extensions but have become works of art. 3D manicure is the most striking evidence of this transformation. It’s much more than traditional nail polish application. This technique creates designs that fascinate the viewer by creating depth, texture and shadow on the nail. Instead of a single solid color, eye-catching reliefs and concrete objects are used.
Why did it become so popular? The answer is simple: We want to be visible. Social media algorithms highlight high-contrast and detailed content. One hand gesture became like a thousand words. People started using their nails as a social statement. Moreover, nail care is no longer a luxury, but an indispensable part of the personal care routine. Women who get manicures more often are not afraid of trying new trends.
The variety of designs is unlimited. Everything is possible, from a thin flower petal to a thick tulle. While some designs look elegant and natural, others have an extravagant look with jewels, beads and lots of glitter. Whatever style you choose, these nails will complement your outfits. Whether they wear a simple white shirt or opt for an evening dress, nails emphasize your individual style.
Supplies Needed for 3D Manicure
Can anyone do this at home? Actually, it is possible to try it at home, but you need the right materials for professional results. Nail polish alone is not enough. Adhesives, molds and special polymers are involved.
Basic Materials List:
- Acrylic Powder and Monomer: Basic structure to add volume on the nail.
- Silicone Molds: Stencils for flowers, butterflies or geometric shapes.
- High Adhesion Nail Adhesive: Necessary to prevent heavy items from falling.
- Specialty Nail Polishes and Gel: For coloring and coating.
- Glitter, Beads, Strazes: To add detail and shine.
- Fine Tip Brushes: For detailed workmanship.
If you are going to try it at home, I recommend starting with small details. Large, bulky pieces tend to float. A wrong choice of adhesive can ruin the entire design
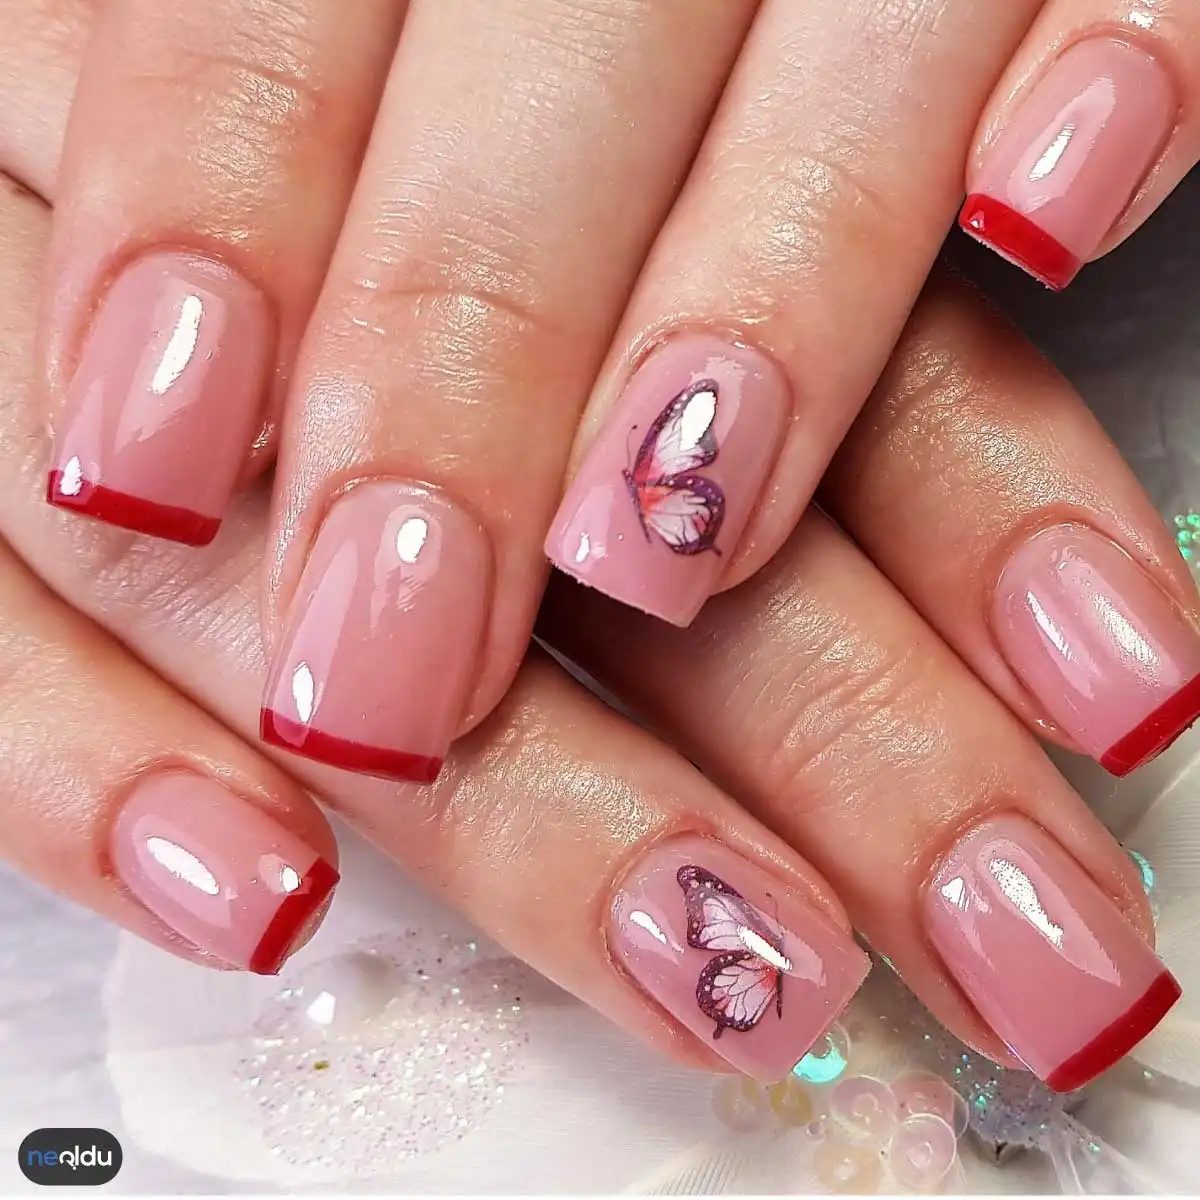
The feeling of depth on the nails instantly breaks the boringness of flat surface manicures. 3D manicure is no longer just a trend, it is a standard choice for those who want to turn their own nails into works of art. So, what exactly do you need for a home or jeweler-like salon experience? And is this technique really a home-made job or does it require professional intervention?
What you need may be simple, but it affects the quality. Here is a detailed analysis of the materials required for 3D manicure and a step-by-step application guide.
Choosing the Right Nail Polish and Its Effect
Not only the color but also the formula is important. To make 3D details stand out, choosing shiny, glittery or glittery nail polish always prevails. A nail with a matte finish can cause the added embellishments to be shadowed and appear flat. The shine enhances that 3D illusion by reflecting light.
Color harmony is also critical. If the flowers or sequins you will stick on your nails are in golden tones, the nail polish tone must also support these temperatures. A warm metallic ornament on a cold-toned background can disrupt the integrity.
Nail Decorations: Which Material, Which Effect?
This is the heart of 3D manicure. The variety of materials is unlimited, but each has a different effect on the nail.
- Adhesive beads: Minimalist but eye-catching. Small beads provide a modern and stylish look, while large beads provide a more dramatic look.
- Rhinestones (Crystal stones): Option that maximizes sparkle. It is especially ideal for weddings or special occasions.
- Fashions and metals: Used to create geometric patterns or lines.
- Leaf, flower, butterfly: Adds a more organic and romantic atmosphere. These pieces usually have an adhesive base, making application easier.
When choosing decorations, take your nail length into account. While huge flowers can be heavy on short nails, long nails can carry finer and more detailed pieces.
Required Tools and Techniques
Just your fingertips are not enough to place the decorations. Tweezers, specific decorating forceps and fine-tipped brushes are essential for this job that requires precision.
tweezers
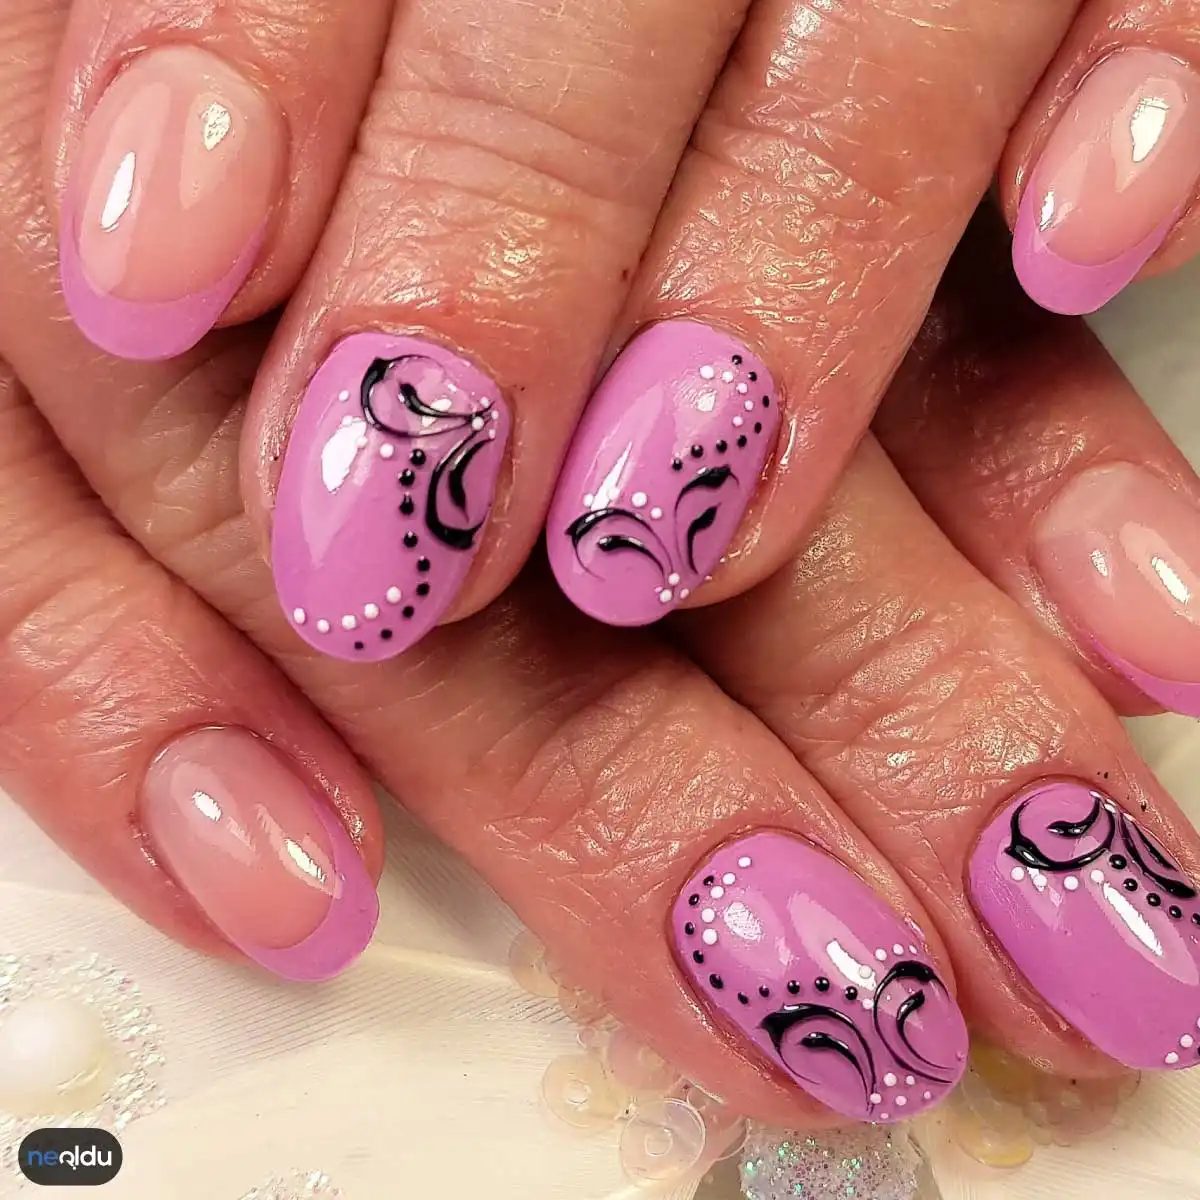
If you want your nails to turn into a tactile work of art rather than just a flat surface, three-dimensional manicure is for you. This trend goes beyond ordinary nail polish. Patterns and objects rising from the nail surface create shadow and depth in your hand movements. Its popularity is increasing. Why not? It leaves a unique signature.
However, if you have decided to try it at home, it is not a random gluing job. A sequential, careful process is required. Here’s how to do a three-dimensional manicure step by step.
Nail Prep: Clean Start
The basis of everything is cleanliness. There should be no oil or moisture left on your nails. As a first step, file your nails. Give it the shape you want. Trim the edges. Then polish it. But don’t exaggerate. Focus on making the surface smooth and even. No adhesive will adhere to a rough surface. The smoother your nail base, the easier your job will be.
Base Layer: Solid Foundation
When you are going to add embellishments, the durability of your nail becomes critical. This is where the base layer comes into play. This layer prepares the ground not only for nail polish but also for decorations. Apply a thin layer to your nails. Wait for it to dry. This step will ensure that the decorations on your nails last longer. Bounce. It’s a matter of patience.
Nail Polish Application: Color and Drying
Apply nail polish to your nails. No matter which color you choose, applying two layers works best. A single layer is usually insufficient. Color saturation is important. But the most important thing is drying time. Wait for your nail polish to dry completely. If you rush, the decorations you add may not blend with the nail polish. It overlaps. It disperses. Be patient.
Application of Decorations
This is where the heart of three-dimensional manicure beats. After the nail polish dries, you can add the decorations you prepared. Adhesive gels or special silicones you use to create a 3D manicure may distort the shape of the nail polish. To minimize this risk, consider drying time at each joint.
After placing the ornaments, do not leave them immediately. Apply another layer of protective nail polish or top coat. Without this layer, the ornaments will not stick to your nail sufficiently. Friction, contact, or even towel installation can tear the ornament off. Create a locked structure.
“After adding the ornaments, you need to apply another layer. If you do not apply the last layer, the ornaments will not stick to your nails enough.”