




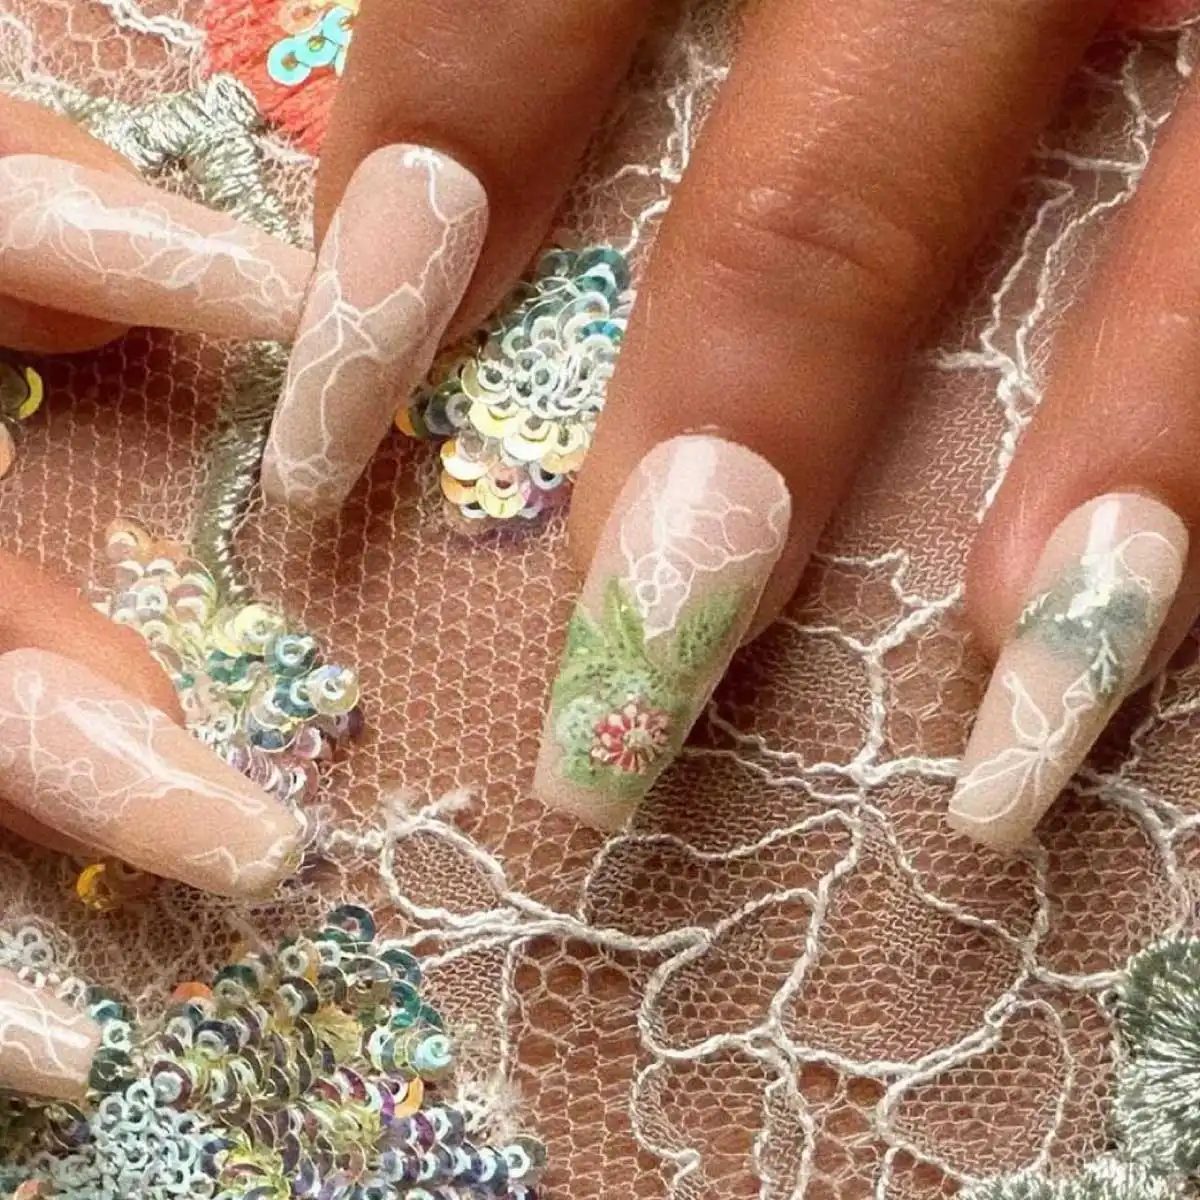
Nail art isn’t just a passing fad anymore. It’s the anchor in a sea of trends, claiming the center stage of modern self-care. For millions of women, painting their nails has shifted from a monthly chore to a daily ritual of personal expression. You aren’t just applying color; you are curating a vibe. And when that vibe calls for something with a bit more history, a bit more texture, lace design polish steps in.
It sounds complicated. It sounds like it requires steady hands, a steady heartbeat, and maybe a degree in textile engineering. It doesn’t.
Whether you are prepping for a wedding, a job interview, or just a Tuesday where you need a reminder that you are still a person with taste, lace nail art is surprisingly accessible. It’s delicate without being fragile. Intricate without being overwhelming.
Зміст
Why Lace Design Polish Captures Attention
Before we get to the how, let’s look at the why. Why does this specific aesthetic stick around while others fade?
Traditional nail art often shouts. Bright glitters, massive 3D charms, neon slashes. Lace whispers. It borrows from vintage lingerie and heirloom quilts, bringing that romantic, old-world charm to modern fingertips. It works because it adds texture to a flat surface. It mimics the complexity of fabric without the weight.
This is particularly effective for those who find standard solid colors too plain but full-on glitter too much. It’s a middle ground. A sophisticated compromise.
The Core Concept of Lace Nail Art
So, what exactly are we talking about when we say “lace design polish”?
At its core, it’s a technique that replicates the openwork patterns of lace fabric. You aren’t just painting a line. You are creating negative space. You are letting the nail polish underneath (or the nail itself) show through a web of fine lines.
The magic lies in the layering.
Typically, this involves a base coat, a background color that provides contrast, and then the lace pattern itself. The lace pattern can be applied in a few different ways:
- Stamping : Using a metal plate and a scraper to transfer a pre-made lace design.
- Hand-painting : Using a thin brush to manually draw the intricate web.
- Stickers/Transfers : Applying pre-made lace decals over a cured base coat.
- Glue technique : Using a liquid latex or glue to mask areas, then painting over, and peeling it off to reveal the negative space.
Each method has its pros and cons. Stamping is the fastest for beginners. Hand-painting offers the most control but demands patience. Stickers are the easiest but can look slightly less natural if not blended well.
Who Is This Technique For?
You might think lace is reserved for brides. And sure, it’s a staple at weddings. But that’s a narrow view.
Lace nail art works for:
- Minimalists : Choose a nude or black base with white lace. It’s subtle.
- Bold style-makers : Try a deep red base with gold lace. It’s dramatic.
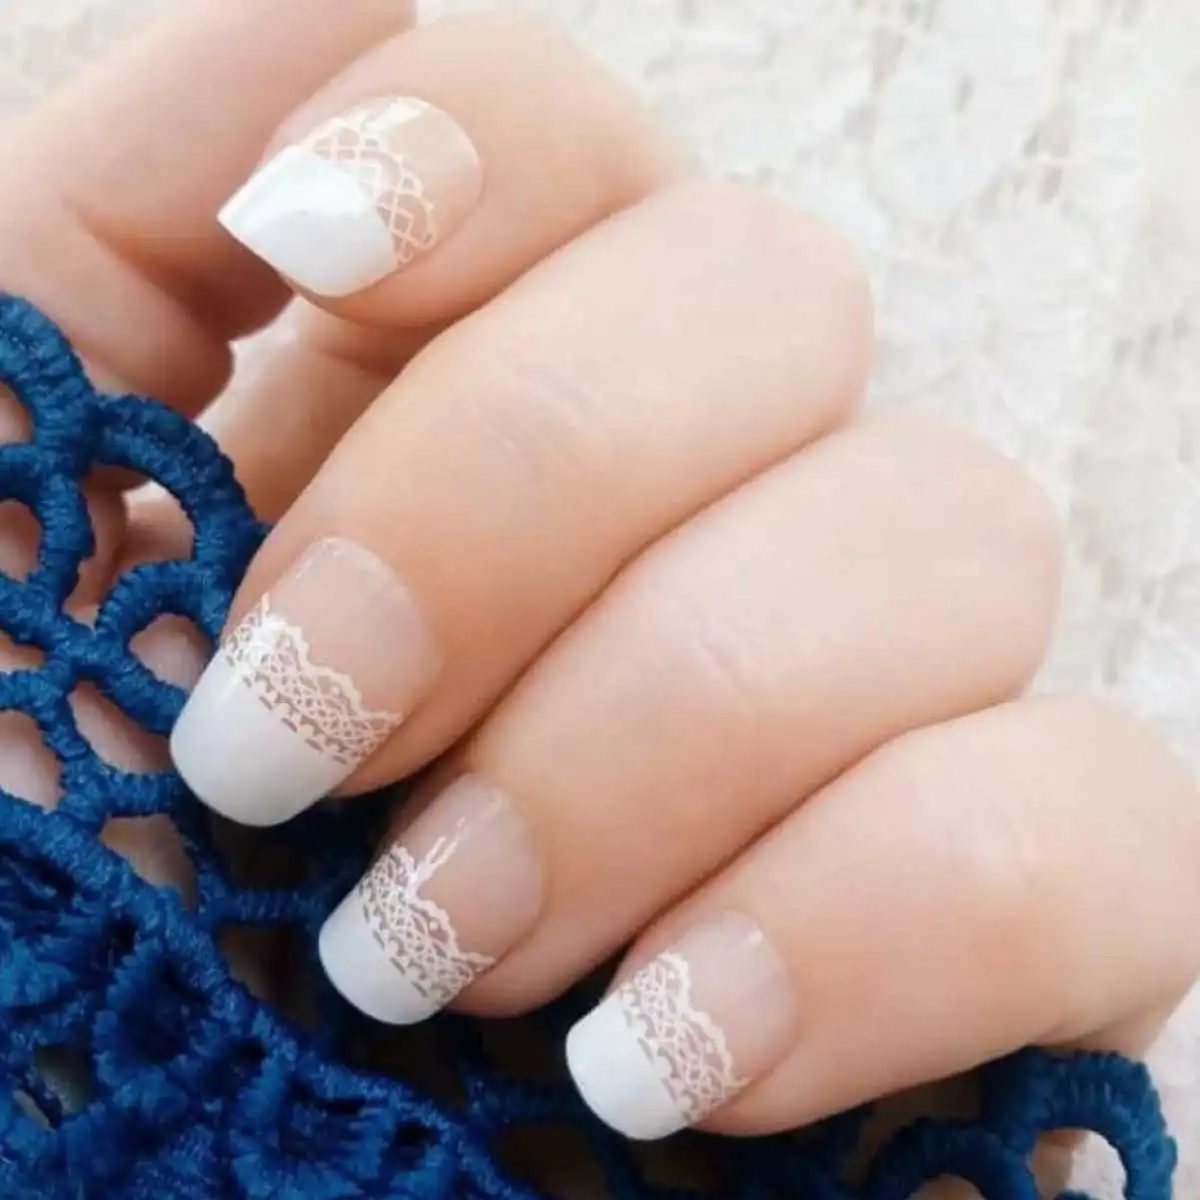
- Seasonal trend followers : Lace feels wintery and cozy, but white lace on a pastel base feels surprisingly spring-like.
It’s versatile
Tırnaklarında hafif bir dantel dokusu yaratmak, sadece özel günler için değil, günlük şıklığı da seviyorsan harika bir hamle olabilir. Bu trend, özellikle beyaz, krem veya pastel tonlarda evlilik teklifi, düğün veya nişan gibi törenlerde çok popüler. Ama dur, siyah ya da canlı kırmızı dantel desenli tırnaklar da var. İşte bu tarzı evde yapabilmek için ihtiyacın olan temel malzemeler.
Temel Malzemeler ve Hazırlık Süreci
Dantel desenli oje yapmak için karmaşık profesyonel ekipmanlara ihtiyacın yok. Sadece birkaç temel ürün ve sabır yeterli. Öncelikle tırnaklarının temiz ve kurudığından emin ol. Yağ veya nem kalıntısı desenin tutunmasını engeller.
İşte masanda olması gerekenler:
- Temel Oje: Tırnağının ana rengi. Beyaz, nude, pastel pembe veya siyah olabilir.
- Dantel Deseni Ojesi: Genellikle kontrast oluşturacak bir renk seçilir. Beyaz dantel için koyu bir taban; koyu dantel için açık bir taban işini görür.
- İnce Uçlu Fırça veya İğne: Detay çizgileri için keskin bir uç gereklidir.
- Pik Aracı veya Diş Çırpığı: Daha hassas detaylar için.
- Tırnak Lakı (Top Coat): Desenin çatlamaması ve parlaması için.
- Keten veya Organza Parçası (Opsiyonel): Bazı tekniklerde kalıp olarak kullanılır.
Dantel Desenli Oje Yapımı Adımları
Prosedür basit gibi dursa da dikkatli olmak gerekiyor. Hızlı yaparsan desen bozulur, yavaş yaparsan oje kurur. İşte adım adım uygulama rehberi:
1. Taban Ojesi Uygulaması
Tırnaklarına iki kat temel oje sür. Her kat arasında 2-3 dakika beklemek, desenin daha net belirmesini sağlar. Taban rengin, dantel deseninin kontrastına göre seçilmeli.
2. Desenin Çizilmesi
Dantel desenli oje uygulaması için ince uçlu fırçayı kullanarak, tırnağın kenarlarından başlayarak iç doğru ince çizgiler çek. Bu çizgiler, dantelin tül yapısını taklit etmeli. Çiçek veya yaprak motifleri eklemek istiyorsan, önce ana hatları çiz, sonra detayları doldur.
“En önemli kural, çizgilerin birbirine değmemesi ve boşluk bırakmaktır. Bu, dantelin havadar görünmesini sağlar.”
3. Kuruma Süresi
Çizimleri yaptıktan sonra ojenin tamamen kurumasını bekle. Genellikle 5-10 dakika yeterli olur. Eğer
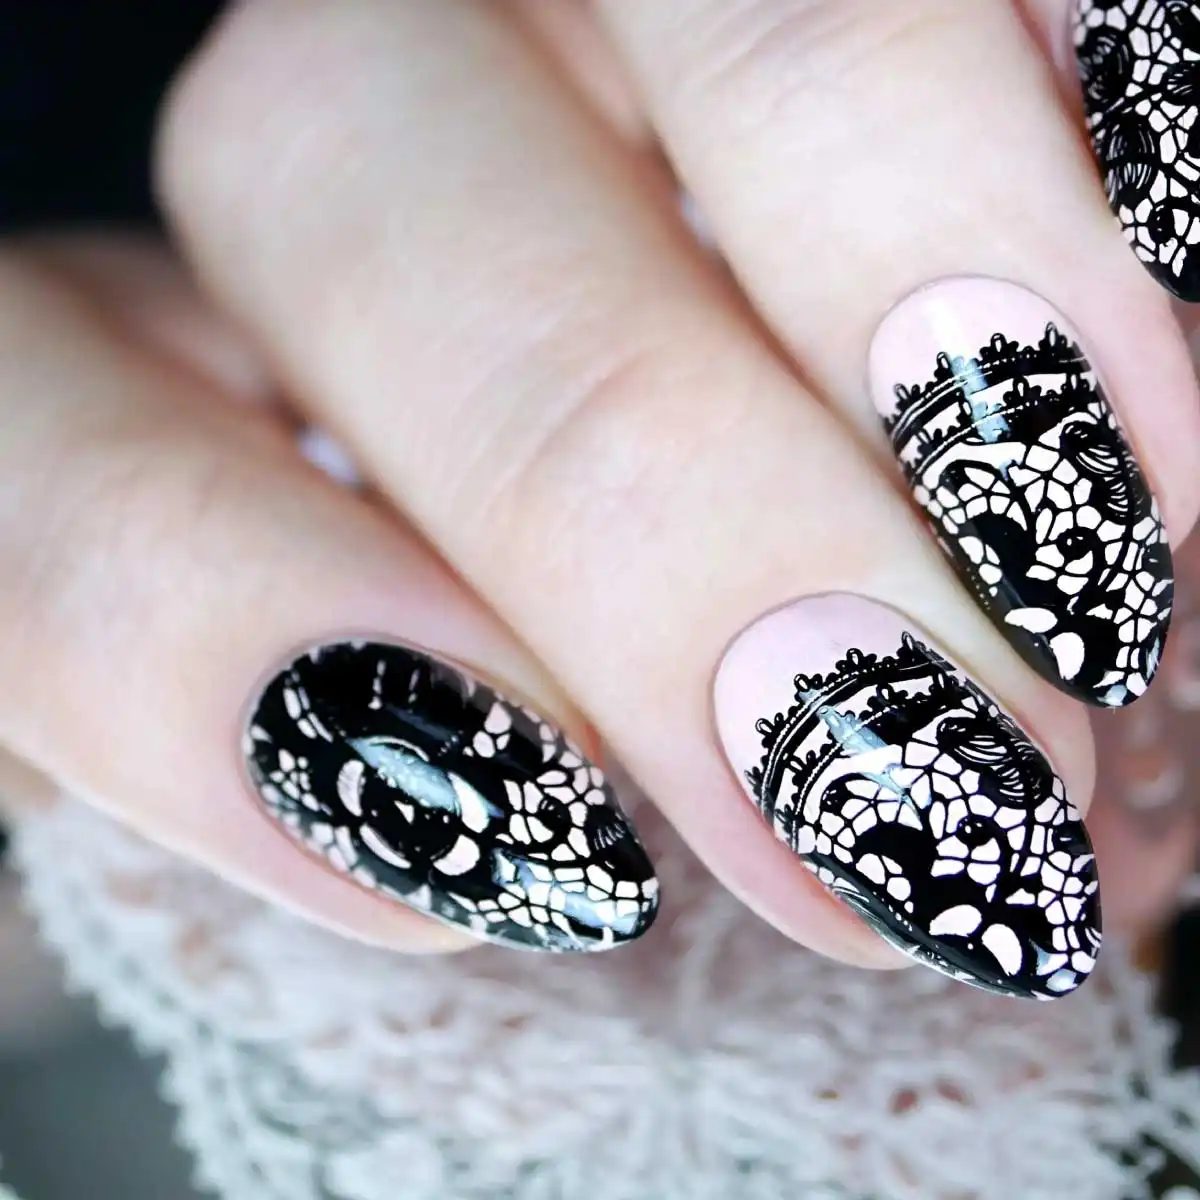
Evinde salonda yapılan gibi şık bir manikür yapmaya ne dersin? Dantel desenli oje, özellikle düğünler, nişanlar veya sadece kendine iyi davranmak istediğin günler için harika bir fikir. Karmaşık görünse de aslında malzemeler çok basit. Sadece biraz sabır ve doğru araçlar yeterli.
İşte bu ince işi başarmak için masanda olması gerekenler:
Gerekli Malzemeler
Öncelikle bir zemin oluşturalım. Baz oje şart. Tırnaklarını pürüzsüz ve düzgün hale getirir. Bu sadece estetik için değil, ojenin daha uzun süre tırnaktan çıkmamasını da sağlar.
Desenin kalbi ise dantel kumaş. Evdeki eski bir parça da olabilir, yeni bir file de. Farklı desenler ve renkler bulabilirsin. Desenin net çıkması için kumaşın dokusu açık olmalı.
Kesim işi için keskin bir makas kullan. Dantel ince bir kumaş olduğu için eğri makas desenini bozabilir veya kumaşı yırtabilir. Düz ve keskin olanı seç.
Oje seçiminde beyaz veya açık tonlar genellikle daha iyi sonuç verir. Dantel desenleri beyaz ojelerle en net haliyle ortaya çıkar. Ama sen siyah, lacivert veya pastel tonlar da tercih edebilirsin. Tarzın senin.
Son dokunuş için parlak vernik şart. Bu, desenin mat kalmadan parlak kalmasını sağlar ve ömrünü uzatır.
İstersen ince bir fırça da edinebilirsin. Ana desen dantelle çıkarken, eksik kalan ince detayları elle tamamlayabilirsin.
Adım Adım Uygulama
Hazırsan başlayalım. İşin sırrı sabırda gizli.
- Hazırlık: Tırnaklarını düzgün bir şekilde törpüle ve temizle. Herhangi bir yağ kalıntısı olmamalı.
- Baz Katmanı: Baz ojeyi sür ve kurumasını bekle. Bu, ojenin tırnağa tutunması için önemli.
- Renk Uygulaması: Seçtiğin oje rengini (genellikle beyaz) ince bir tabaka halinde sür. Tamamen kurumasını bekle. Mat bir zemin, dantel deseninin daha net görünmesini sağlar.
- Dantel Yerleştirme: Makasla dantelini tırnak büyüklüğünde veya deseni oluşturacak şekilde kes. Tırnağın üzerine, tam istediğin konuma yerleştir. Çok dikkatli ol, bir kere bastırdıktan sonra kaldırmak kumaşı yırtabilir.
- Vernik Uygulaması: Danteli sabitledikten sonra, üzerine ince ve bolca vernik sür. Vernik
The Lace Nail Hack You Need to Try Today
Let’s be honest. Lace is timeless. It’s romantic, intricate, and honestly, a bit hard to pull off in real life without looking like a Victorian ghost. But on your nails? It’s chic. It’s delicate. And you don’t need a degree in nail art to do it.
This isn’t just about painting your nails white. It’s about texture. It’s about using a simple, cheap trick to get a high-end look in under ten minutes. If you’ve ever stared at a lace fabric and thought, “I wish I could wear this on my hands,” stop thinking and start cutting.
Preparing the Canvas
Start with a base coat. Don’t skip this. You need a smooth surface for the lace to sit on, and you need the base to be completely dry. If it’s even slightly tacky, your lace is going to slide around or rip.
While that dries, grab your lace fabric. It can be from an old dress, a scrap from a sewing project, or even a pre-cut lace sticker if you’re feeling lazy (though fabric gives better results). Cut small pieces. You don’t need a pattern yet. Just rough squares or strips.
The Placement Game
Here is where you get creative. Lay the lace pieces on your nail. You don’t have to cover the whole nail. In fact, leaving some negative space often looks more intentional and less cluttered.
Try different orientations. Rotate the lace. Overlap pieces. This isn’t a puzzle you need to solve perfectly; it’s an artistic choice. Once you’re happy with how it looks, leave it there. Take a photo if you want to remember the layout, then get ready for the next step.
The Transfer Technique
This is the magic part. Take a light-colored polish. White is classic. Cream, blush, or pale blue works too. Dark colors tend to muddy the lace effect.
Dab the polish over the lace. Use a light hand. You’re not trying to paint the lace; you’re trying to stain it. The polish seeps through the holes and covers the fabric. Do this quickly because once the polish starts to dry, it’s going to be a pain to clean up.
The Reveal
While the polish is still wet, gently peel off the lace pieces. Pull them up and away. If you wait too long, the polish will dry onto the lace, and you’ll be picking bits of fabric out of your nail for hours.
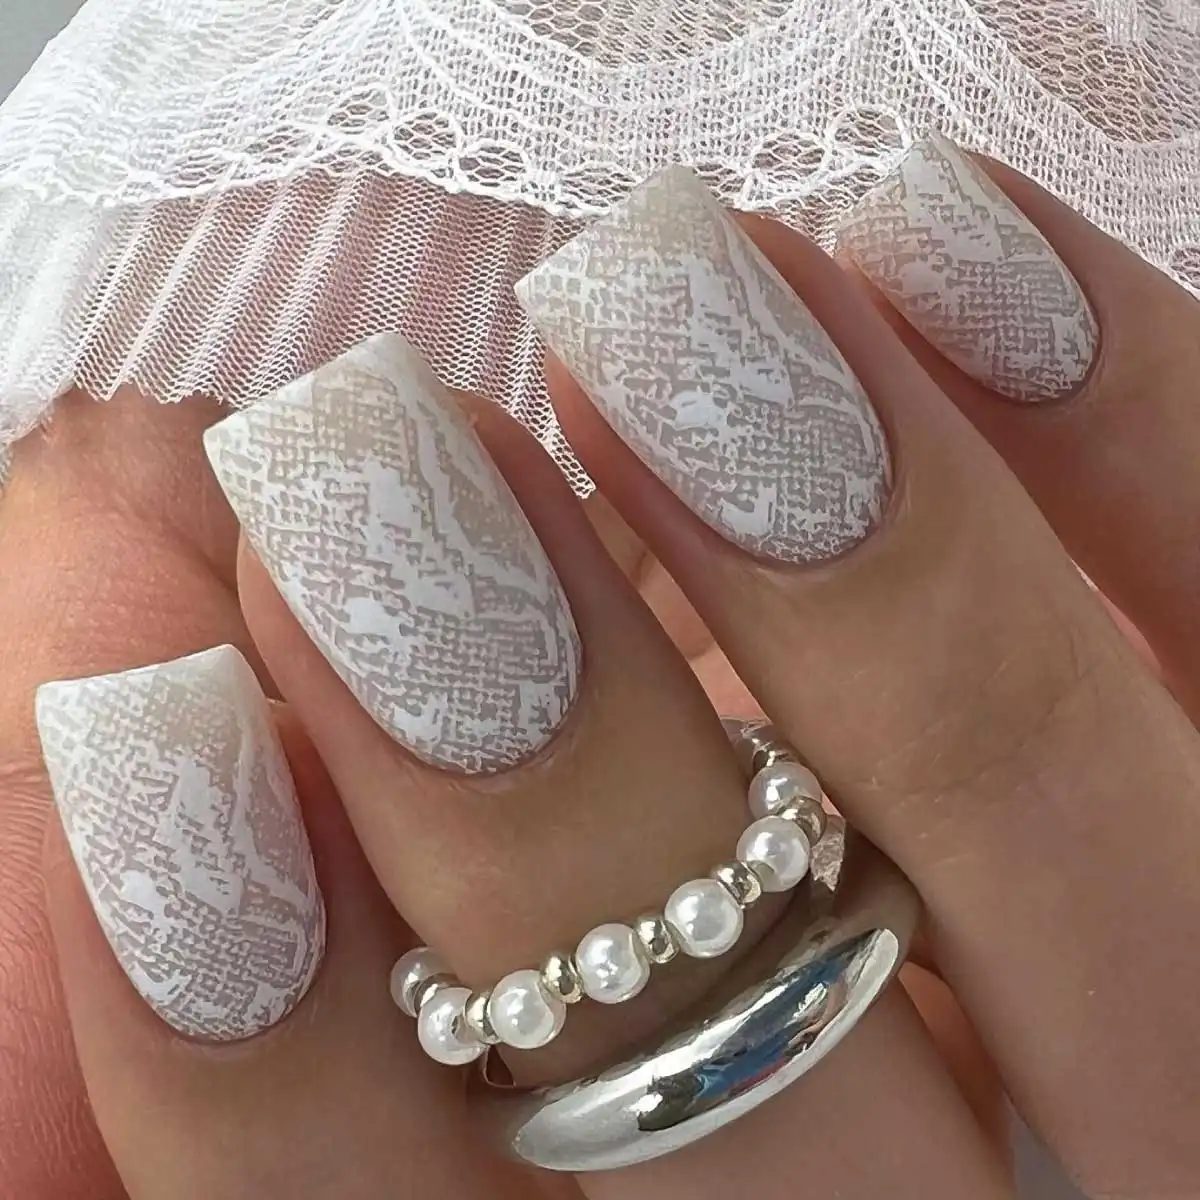
What you’re left with is a perfect lace imprint. The polish has transferred the pattern onto your nail. It’s crisp. It’s clean. It’s surprisingly easy.
Seal It In
Finish with a top coat. This is non-negotiable. A good top coat seals the design, adds shine, and prevents chipping. It also makes the lace pattern pop, giving it that glossy, finished look.
Why This Works Better Than You Think
People assume lace nails are hard because they look complex. But the technique relies on transfer, not precision painting. You’re not drawing each thread. You’re using the fabric as a stencil.
This method allows for experimentation. Change the lace width. Change the color. Use black lace with white polish for a gothic vibe. Use gold lace with nude polish for something subtle. The
Why your lace nail art keeps smudging (and how to fix it)
There is a specific frustration to lace nails. You want that delicate, vintage elegance. What you get is a muddy, unclear pattern that looks like a mistake rather than a design. The difference between the two isn’t talent. It’s patience and product choice.
Most people rush the process. They slap on the polish, press the lace on, and wait too long. By the time they peel it off, the wet polish has bled into the fabric. The result? A blurry mess.
Here is how you actually get clean lines without needing a degree in nail art.
Product choice matters more than technique
Start with quality polish. Cheap formulas are runny. They spread where they shouldn’t. A high-quality base coat or polish provides better opacity and control. When the liquid is thick enough to hold its shape but fluid enough to spread, you have a fighting chance.
If your polish is too thin, it seeps under the lace holes. This creates unwanted dots and smears. You need a formula that dries at a consistent rate. Not too fast, not too slow. Just right.
Cutting is the first step of the design
Do not tear the lace. It frays. It creates uneven edges that ruin the symmetry. Use small, sharp scissors to cut pieces of your lace fabric.
Size matters here. If the lace piece is larger than your nail bed, you will have to trim it after applying the polish. This risks dragging the wet polish around. Cut your lace to fit snugly. It should cover the nail but not hang over the sides excessively.
Press it down firmly. If there are gaps, polish will leak into them. Ensure the lace is flat against the nail surface before you apply a single drop of color.
Less is literally more
This is where most tutorials fail. They suggest painting a thick layer over the lace. Do not do this.
Thin layers are non-negotiable. If you apply too much polish, the lace becomes saturated. It loses its structure. The design becomes obscured by a glob of color.
Use the brush to dab, not sweep. Cover the lace with a minimal amount of polish. You want the color to show through the holes, not fill them completely. If you mess up the first layer, let it dry slightly before adding a second thin coat. Never go for full opacity in one swipe.
The timing of removal
This is the most critical moment. You cannot wait for the polish to dry completely.
If the polish is fully cured, trying to peel off the lace will pull the design apart. It will snag. You will rip the lace fibers right out of the polish, leaving a rough, damaged surface.
But if you pull the lace off while the polish is still wet, you get smudging.
The sweet spot is when the polish is tacky but not liquid. It should be set enough to hold its shape but soft enough to release from the fabric. This usually takes just a few minutes. Watch it closely. As soon as it feels dry to the touch but still pliable, lift the lace gently from one corner. Pull slowly. If you feel resistance, stop. Wait another minute.
Sealing the deal
Once the lace is off and you have cleaned up any tiny errors with a bit of acetone on a Q-tip, you need to protect the work.
Apply a top coat. This isn’t optional. The top coat seals the edges of the lace design. It prevents chipping and adds shine. It also helps the design last longer. Without it, the delicate lace pattern might lift or fade within days.
A good top coat also fills in any microscopic irregularities caused by the lace texture, giving your nails a smooth, professional finish.
Is this really hard to learn?
No. It sounds technical, but it is essentially layering. You have three layers: base, lace (as a stencil), and top color. Then a protective layer.
The difficulty lies in the timing. That’s it. Once you get a feel for how long your specific brand of polish takes to set, the process becomes muscle memory. It’s not rocket science. It’s just being present with your nails while you work.
Longevity expectations
How long does this actually last?
If you use a good base coat, apply thin layers, and seal it with a quality top coat, you can expect five to seven days of wear. This assumes your natural nails are in decent condition and you wear gloves for dishes.
If you skip the top coat or use thick, gloppy polish, you might see chipping or peeling within two or three days. The lace adds texture, which can sometimes catch on things. Treat your hands gently for the first 24 hours to ensure the